
Reviewed · WORKSHOPS
Tokyo Photography Masterclass – Private Photography Lesson
Tokyo Photography Masterclass is built around one useful idea: you learn faster when the lesson happens in front of the scene you want to photograph. You may work the crowds at Hachiko Crossing, seek out unusual corners of Shibuya and Harajuku, or practice night shots among Shinjuku’s neon towers.
I like the private format, since your guide can adjust the pace and spend time on the kinds of pictures you care about. I also like the mix of camera instruction and visual judgment, from aperture and shutter speed to lines, texture, repetition, lighting, and subject choice. The main consideration is the $190 per-person price for about three hours, especially if you already have strong technical skills.
In This Review
- Key points to know before booking
- Why this Tokyo photo lesson works
- Starting at Hachiko and working Shibuya
- Shibuya back streets and Harajuku street style
- Choosing Tokyo after dark
- What you will actually learn with the camera
- Reviewing your pictures during the session
- Is $190 a fair price for three private hours?
- Timing, equipment, and basic planning
- Who should book this private photo walk?
- Should you book the Tokyo Photography Masterclass?
- FAQ
- Where does the photography lesson start?
- Where does the activity end?
- How long does the private lesson last?
- Is the photography tour private?
- Is a camera included?
- Can I rent a tripod?
- What photography skills are covered?
- Can I cancel for a full refund?
Key points to know before booking
- Hachiko Crossing sets the tone: Start at one of Tokyo’s best-known street scenes and learn how to work with crowds, movement, and changing light.
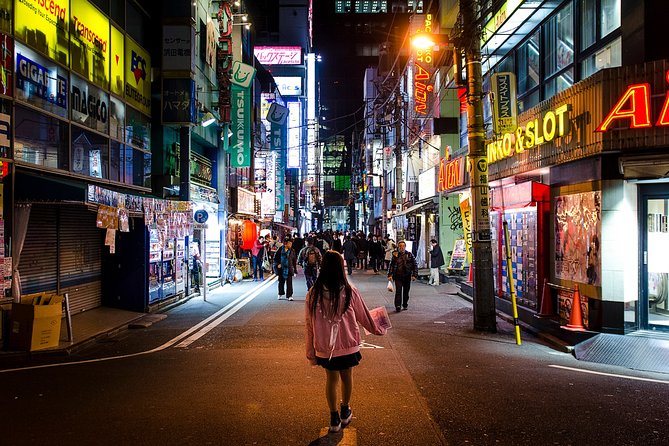
- Your route can match your interests: Choose from Shibuya and Harajuku street scenes, Shinjuku after dark, or a calmer Asakusa and Senso-ji session.
- The lesson covers both camera and eye: You work on aperture, shutter speed, ISO, focusing, composition, lighting, and subject choice.
- It is fully private: Only your group takes part, so you can ask basic questions without holding up a larger class.
- Bring your own camera: A camera is not supplied, and a tripod can be rented if required.
- Three hours is enough for focused practice: You will have time to shoot, receive guidance, and review your photography without committing to a full day.
Why this Tokyo photo lesson works
Many photography classes give you a list of camera settings, then send you off to figure out the rest. This one places the instruction directly in Tokyo’s streets. That matters because the city gives you difficult subjects in quick succession: a moving crowd, a brightly lit sign, a dark alley, a temple facade, or a car trail passing through the frame.
I like that the lesson treats photography as more than button pressing. You work on the technical controls, but you also learn how to notice lines, repetition, texture, angles, lighting, and the relationship between subject and background. Those are the skills that continue to help after the tour ends.
The private setup is especially useful for mixed skill levels. A first-time camera owner can get a clear explanation of ISO or focus modes. A semi-professional can spend more time refining composition or working out how to handle difficult night light. A group discount may help if you are booking with companions, though the price is still worth comparing with a general group photography class.
More Tokyo photo sessions:
- Tokyo Ryogoku Sumo Morning Practice + Photo Shoot with Wrestlers
★ 4.5 · 277 reviews - Tokyo by Night Photography Tour (Private Option Available)
★ 5.0 · 151 reviews - Tokyo Sumo Morning Practice Tour w/ Ring-Side Seat + Photo Shoot
★ 5.0 · 93 reviews
Starting at Hachiko and working Shibuya
The listed meeting point is the Hachiko Statue at 2 Chome-1 Dogenzaka in Shibuya. That puts you at a memorable starting place, but it also means you begin in one of Tokyo’s busiest areas. Give yourself enough time to locate the statue and arrive ready to shoot.
Hachiko Crossing is useful as a first lesson because it offers no shortage of subjects. People move in several directions, signs compete for attention, and the scene changes every few seconds. Your guide can help you decide what belongs in the frame and what should be left out.
This is where the lesson on composition can become practical. You may work with leading lines created by streets and buildings, repetition in the moving crowd, or angles that make the crossing feel more orderly or more chaotic. You may also practice timing, since a good street photograph often depends on waiting for the right arrangement of people.
The drawback is simple: Shibuya can be overwhelming. If you prefer quiet scenes, the crossing may feel more like a test than a relaxing introduction. The private format helps because you can ask to slow down, change direction, or spend more time on a particular type of image.
Shibuya back streets and Harajuku street style
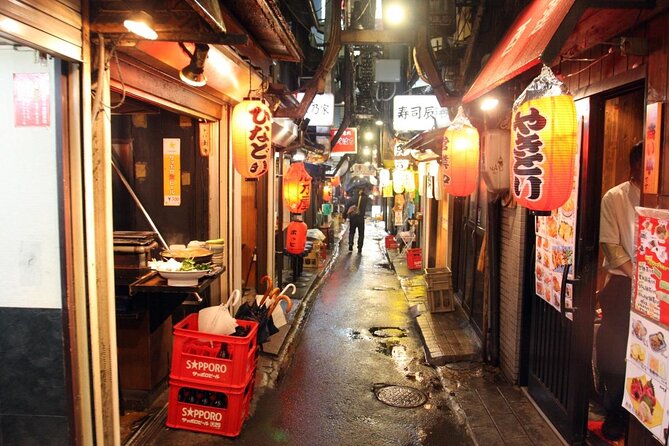
After the crossing, the route can continue into Shibuya’s back streets. This change is important. The main crossing gives you scale and motion, while the smaller streets offer more control over framing and subject choice.
You may find a better setting there for practicing texture, close details, shadows, and layers. Your guide can also help you sharpen your eye by asking what first attracted you to a scene. That question is valuable. It pushes you to identify the subject instead of making a quick picture simply because something looks busy.
The route can also include Harajuku, where youth fashion gives you a different kind of street photography subject. This section is less about famous landmarks and more about observation. Clothing, color, posture, shop fronts, and passing groups can all change the feel of a frame.
You should keep your camera ready, but be respectful of people. The information provided does not set out a separate portrait policy, so use ordinary courtesy and follow your guide’s advice. A private lesson gives you the chance to ask how to approach a scene before raising your camera.
Harajuku also adds variety to the session. If you spend all three hours around one landmark, you may leave with many similar pictures. Moving between Shibuya and Harajuku gives you different backgrounds, subjects, and levels of crowd activity.
Choosing Tokyo after dark
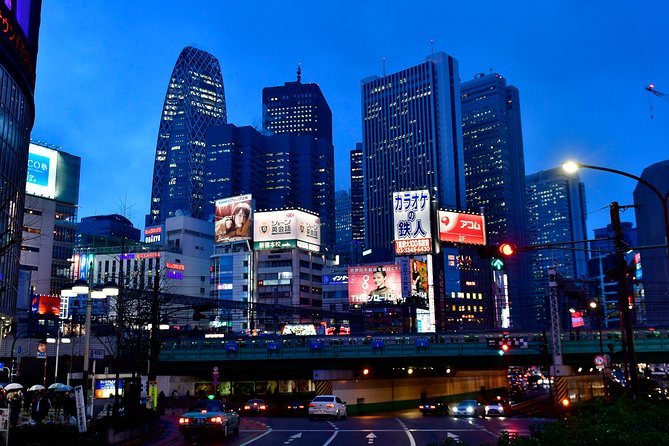
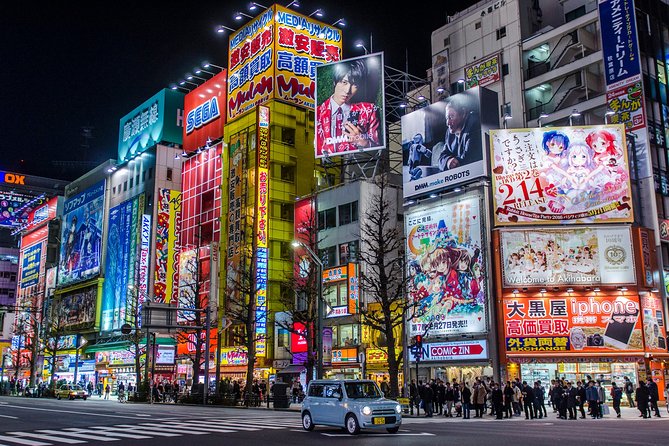
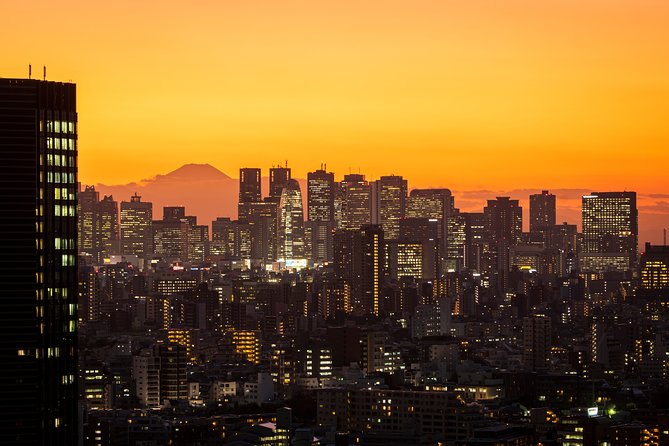
The night option gives you two distinct directions. Shinjuku is the more futuristic choice, with neon lights, tall buildings, and streets that remain active late into the evening. Asakusa offers a quieter mood, with Senso-ji and nearby paths providing temple architecture and calmer surroundings.
Shinjuku is a strong setting for learning how to handle artificial light. Neon signs can fool a camera’s exposure system, while bright storefronts and dark streets create sharp contrast. This is a good place to discuss ISO, aperture, shutter speed, and focus in a real situation rather than on a classroom diagram.
Car trails are another possible subject. They let you practice longer exposures and think about how moving light can become part of the composition. You will need to understand how shutter speed changes the result, and a tripod may be useful for this sort of work. A tripod is not included, but one is available to rent.
The practical catch is that night photography is less forgiving. You have less light, more contrast, and a greater chance of camera shake. If you are new to photography, that difficulty is useful only if you are comfortable asking questions and repeating the shot until the setting makes sense.
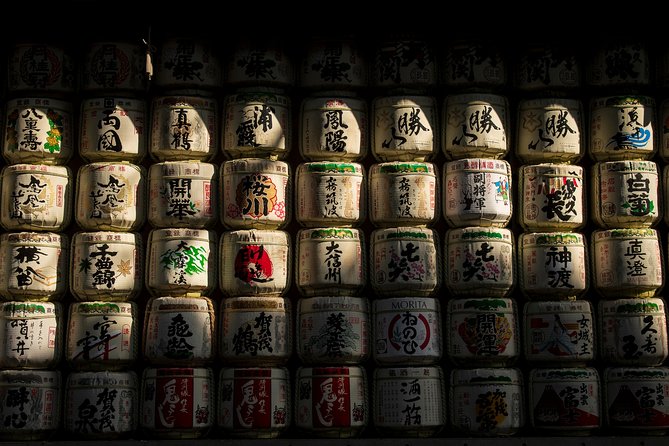
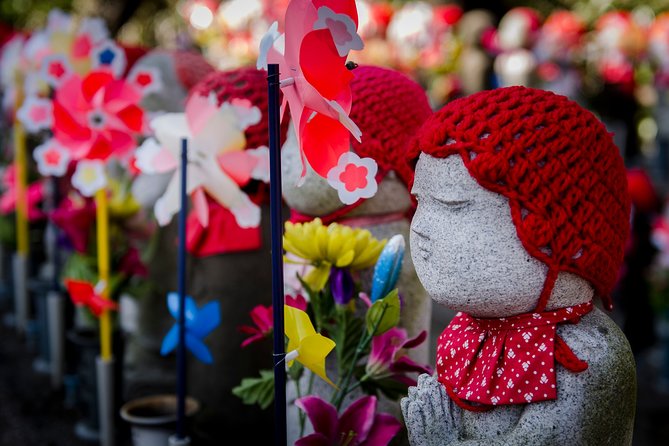
Asakusa gives you a calmer alternative. Senso-ji after dark can provide strong architectural shapes, shadow, and atmosphere without the same visual rush as Shinjuku. The nearby quiet paths may also make it easier to concentrate on framing and focus.
The two choices serve different goals. Pick Shinjuku if you want neon, skyscrapers, and moving light. Pick Asakusa if you want temple details, quieter paths, and a slower lesson. Since the route is designed for your group, tell the provider what kind of pictures you want before the tour begins.
A few more Tokyo bookings worth comparing
- Sushi Making Tokyo Roll and Authentic Japanese Sushi Class
★ 5.0 · 3,971 reviews - Tokyo: Roll and Authentic Sushi Making Class in Asakusa
★ 4.9 · 1,957 reviews - Tokyo Shinjuku Chopsticks Making Class
★ 5.0 · 1,763 reviews - Tokyo: Sushi Making Class in a Happi Coat near a Famous Spot
★ 4.9 · 1,377 reviews
What you will actually learn with the camera
The technical part covers the main controls that shape an image:
- Aperture: How much light enters and how much of the scene appears sharp.
- Shutter speed: How you freeze movement or show motion as a blur or trail.
- ISO: How you adjust the camera’s sensitivity when light levels change.
- Focusing: How you place sharpness on the subject you want viewers to notice.
The lesson also covers composition. Lines can guide the eye through a frame. Repetition can create order. Texture can make a close image feel tactile. Angles can change a familiar landmark into something less expected.
I consider the composition work one of the strongest parts of this activity. Camera settings are easy to look up later. Learning to notice a clean line, a useful shadow, or a good relationship between people and architecture takes practice.
The focus on lighting is just as useful. Tokyo offers bright signs, dark side streets, temple surfaces, indoor glow, and changing daylight. Your guide can show you how the same subject changes when you alter your position or wait for a different moment.
Reviewing your pictures during the session
The lesson includes reviewing your photography, which gives the three-hour format more value than a simple guided walk. You are not only collecting images. You are checking what worked and what did not while the streets are still around you.
That immediate feedback can help you spot common problems. A picture may contain too many competing subjects. The exposure may lose detail in a bright sign. The focus may land on the wrong person. The frame may need a lower angle, a different position, or a few seconds of patience.
A private class also makes it easier to focus on your own equipment. The supplied information does not specify camera brands or models, so you should bring the camera you plan to use during the rest of your Japan trip. Learning on a different device would reduce the practical value.
Karl is one guide associated with this experience, and his teaching style was described as friendly, experienced, and effective. The key point for you is to use the guide actively. Ask for a setting, take the picture, then ask why the result looks the way it does. The more specific your questions, the more useful the session becomes.
Is $190 a fair price for three private hours?
At $190 per person, this is not a budget walking tour. You are paying for a private lesson, a professional photographer guide, a local guide, and a route shaped around your interests. The price makes more sense if you want instruction rather than simple sightseeing.
For a beginner, the value comes from avoiding hours of trial and error. You can learn the basic controls, test them in difficult conditions, and get corrections while the problem is still clear. That may help you use your camera with more confidence for the rest of your trip.
For an experienced photographer, the price depends on the guide’s ability to offer fresh ideas. The experience is most worthwhile if you want help with street composition, night work, or a particular Tokyo subject. If you already know your settings and only want a person to show you famous locations, a less expensive photo walk may suit you better.
The private format also changes the value for couples, families, or small groups. You do not have to follow the needs of strangers, and you can share the lesson with your own group. Group discounts are available, though the details are not specified, so check the final price before booking.
Timing, equipment, and basic planning
The session lasts about three hours and begins and ends at the Hachiko Statue meeting point. The listed location is near public transportation, which makes the central starting point practical, but the exact route and timing should be confirmed when you book.
Bring your own camera. The activity does not include camera hire, so this is not a good choice if you are hoping to learn with equipment supplied on site. A tripod can be rented, which may matter for car trails, long exposures, or carefully framed night scenes.
Wear shoes suitable for walking and keep your setup light. That advice is general rather than a promise about the exact route, since the final path depends on your selected subjects. You should also consider the weather and light when choosing between a daytime street session and a night session.
Confirmation arrives at booking. The activity is private, and most people can participate. You can cancel for a full refund if you do so at least 24 hours before the start time. Changes or cancellations made inside that window are not accepted for a refund, and the cut-off follows Tokyo local time.
Who should book this private photo walk?
I would recommend it most strongly to three kinds of people. First are beginners who own a camera but still rely on automatic settings. Tokyo gives them plenty of real subjects, and a personal guide can explain the controls without rushing.
Second are visitors who want better street photographs, not just souvenir snapshots. The Shibuya, Harajuku, Shinjuku, and Asakusa options offer different visual problems to solve. You can work on movement, architecture, people, neon, temple details, or car trails.
Third are semi-professional photographers who want a local perspective. The value here is less about learning what ISO means and more about seeing Tokyo with someone who can point you toward scenes you might otherwise pass.
I would be less enthusiastic if you have no interest in photography instruction. The activity is built around teaching and practice. If you only want a guide to show you Tokyo’s main sights, you would not be using the private format to its full value.
Should you book the Tokyo Photography Masterclass?
Book it if you want to return from Tokyo with stronger pictures and better control of your camera. The private route, practical teaching, and choice between energetic Shibuya and Shinjuku scenes or quieter Asakusa photography give you room to shape the session around your goals.
Think twice if $190 feels high for three hours, you do not own a camera, or you already handle manual settings with ease. For everyone else, this is a focused way to turn Tokyo’s crowds, lights, streets, and temples into a hands-on photography lesson. Book early if the timing matters, since the activity is often reserved about 24 days ahead.
FAQ
Where does the photography lesson start?
It starts at the Hachiko Statue at 2 Chome-1 Dogenzaka, Shibuya, Tokyo 150-0043, Japan.
Where does the activity end?
The activity ends back at the Hachiko Statue meeting point.
How long does the private lesson last?
The lesson lasts approximately three hours.
Is the photography tour private?
Yes. Only your group participates in the activity.
Is a camera included?
No. You need to bring your own camera.
Can I rent a tripod?
Yes. A tripod is available to rent, but it is not included in the price.
What photography skills are covered?
The lesson covers aperture, shutter speed, ISO, focusing, composition, lighting, subject choice, lines, repetition, texture, and angles. It also includes a review of your photography.
Can I cancel for a full refund?
Yes. You can cancel at least 24 hours before the start time for a full refund. Cancellations or changes made less than 24 hours before the activity are not accepted for a refund.
New on our Tokyo list
- From Tokyo: Mount Fuji & Hakone Full Day Private Tour★ 4.9 · 25 reviews
- Tokyo Spectacular View Day-Cruise in 90 Minutes★ 5.0 · 25 reviews
- 2.5 Hour-Guided Cycle Tour in the Central Tokyo★ 5.0 · 25 reviews
- Real Tokyo Runner Club : Daikoku Car Meet Night Tour with JDM Car★ 5.0 · 25 reviews
- Ramen Making from Scratch +Akihabara Tour –Cooking Class★ 5.0 · 25 reviews
- [Self-Drive] Tokyo & Daikoku Custom Car Driving Tour★ 4.9 · 25 reviews
- Tokyo: 2-Hour Night Bike Tour of the City’s Hidden Gems★ 4.9 · 25 reviews
- Samurai themed Entertainment show in Shinjuku★ 4.5 · 25 reviews
Workshops, compared.
Sushi Making Tokyo Roll and Authentic Japanese Sushi Class
Read our review →
Roll and Authentic Sushi Making Class in Asakusa
Read our review →
Sushi Making Class in a Happi Coat near a Famous Spot
Read our review →
Tokyo Sushi Making Class in Tsukiji with Professional Chef
Read our review →
Ramen & Gyoza Cooking Class in Tokyo with Local Supermarket Visit
Read our review →
Matcha Making Class in Tokyo with Authentic Japanese Sweets Set
Read our review →Browse the lists this tour appears in